Spring Data REST

Spring Data repositories 위에서 hypermedia-driven REST web service 를 쉽게 만들 수 있는 Spring Data REST 에 대해 정리해보자.

Intro

multi-domain object 시스템을 위한 REST 웹 서비스를 구현하는 것은, 지루하고 반복적인 작업이고 많은 boilerplate code 를 생성한다.
Spring Data REST 는 Spring Data repositories 위에 구축되고 자동으로 REST resource 를 노출한다.

Getting started

Dependency

Spring Boot project 에 Spring Data Rest 의존성을 추가해보자.

1
2
3
dependencies {
implementation("org.springframework.boot:spring-boot-starter-data-rest")
}

URI

default 로, Spring Data REST 는 root URI 인 ‘/‘ 에 REST resources 를 제공한다.
application.properties 에 아래와 같이 base URI 를 변경할 수 있다.

1
spring.data.rest.basePath=/api

Data Store

data store 를 지정해야한다. Spring Data REST 는 아래를 지원한다.

  • Spring Data JPA
  • Spring Data MongoDB
  • Spring Data Neo4j
  • Spring Data GemFire
  • Spring Data Cassandra

Spring Data JPA 를 활용해보자. 그리고 DB 는 H2 를 사용해보자.

1
2
3
4
dependencies {
implementation("org.springframework.boot:spring-boot-starter-data-jpa")
implementation("com.h2database:h2")
}

그리고, 다음과 같이 필요한 최소한의 설정만 하자.

1
2
3
4
5
6
7
spring.jpa.hibernate.ddl-auto=create
spring.jpa.properties.hibernate.show_sql=true

spring.datasource.url=jdbc:h2:~/test;
spring.datasource.driverClassName=org.h2.Driver
spring.datasource.username=sa
spring.datasource.password=

Init Data

Product, Customer entity 를 추가하자.

1
2
3
4
5
6
7
8
9
10
11
12
13
14
15
16
17
@Entity
class Product(
@Id
@GeneratedValue
val id: Long = 0,

val name: String = ""
)

@Entity
class Customer(
@Id
@GeneratedValue
val id: Long = 0,

val name: String = ""
)

해당 repository 를 추가한다.

1
2
interface ProductRepository: CrudRepository<Product, Long>
interface CustomerRepository: CrudRepository<Customer, Long>

ApplicationRunner 를 활용해서, application 이 구동될 때, data init 을 하자.

1
2
3
4
5
6
7
8
9
10
11
12
13
14
15
16
17
18
19
20
21
22
23
24
25
26
27
28
@Component
class SetUp(
private val productRepository: ProductRepository,
private val customerRepository: CustomerRepository
) : ApplicationRunner {

override fun run(args: ApplicationArguments?) {
saveProducts()
saveCustomers()
}

private fun saveProducts() {
val products = listOf(
Product(name = "MacBookPro"),
Product(name = "iMac"),
Product(name = "iPhone"),
)
productRepository.saveAll(products)
}

private fun saveCustomers() {
val customers = listOf(
Customer(name = "jko"),
Customer(name = "jun"),
)
customerRepository.saveAll(customers)
}
}

Resource Discoverability

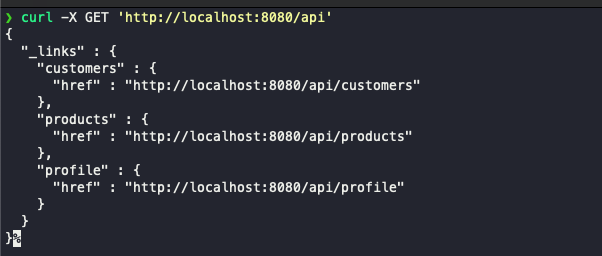
이제 application 을 구동해보자. 위에서 지정한 ‘/api’ 를 호출해보자.
base URL 을 호출함으로써, resource 의 next level 을 알 수 있는 links 를 얻을 수 있다.

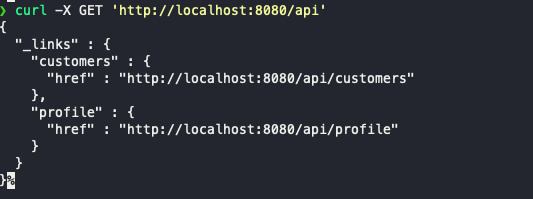
만약, 특정 리소스를 노출시키고 싶지 않다면 제외할 수 있다.
Product 리소스를 제외해보자.

1
2
@RestResource(exported = false)
interface ProductRepository: CrudRepository<Product, Long>

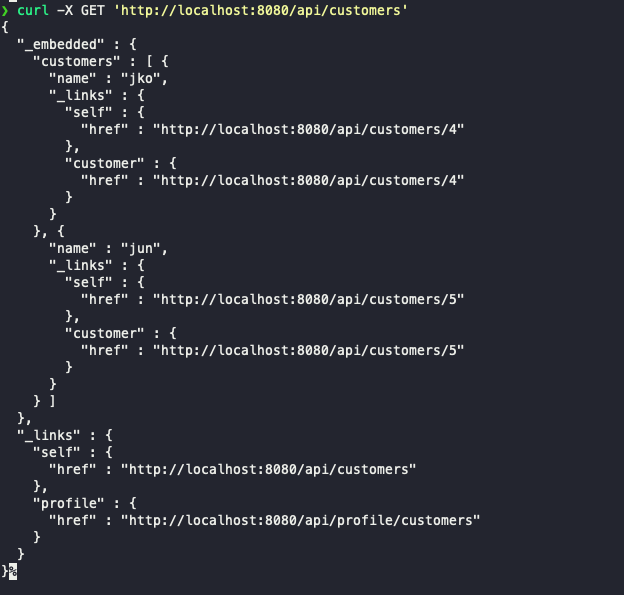
이제, customers 의 next level link 를 다시 호출해보자.
jko 와 jun 정보를 얻을 수 있다.
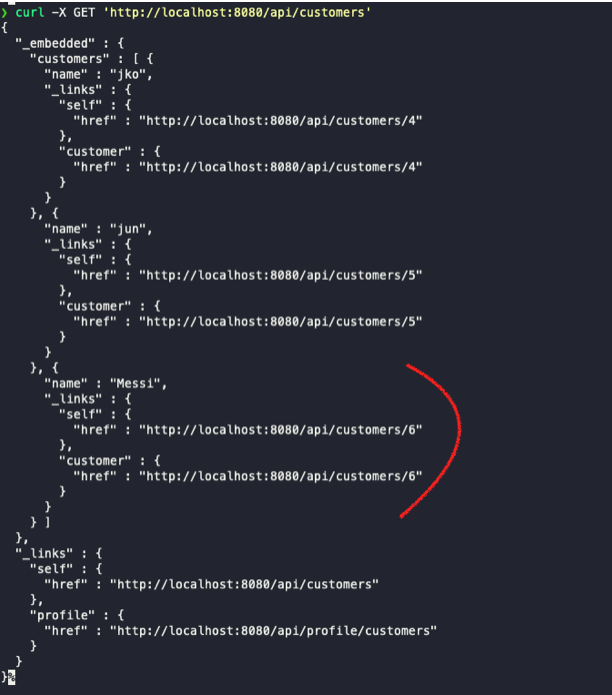
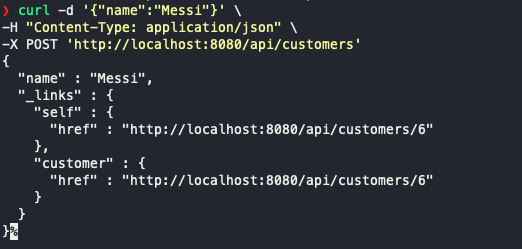
New Entity

Spring Data Rest 를 활용해서 entity 추가도 가능하다.

그리고, customers 전체 리스트를 확인해보면, 추가된 결과를 알 수 있다.


Comments